


Have you tried doing paper plate craft with your preschooler?
Is your child interested in craft activities?
Are you in short of ideas to keep your active kid occupied?
Try these easy paper plate craft activities with your kid, which I have done with my 3-year-old preschooler.

Before we step into the actual paper plate craft activity, let us see the importance of doing crafts with kids.
Why spend time in craft activities with your child?
Making your kid involve in arts and crafts is a great way to make them sit at one place. This is one reason why many moms take time to do simple craft works with their kids. But doing crafts in much more than that.
- A great learning tool
Crafts activities make a great learning tool for kids of any age.While doing crafts with small kids, turn it into a learning time. Introduce them to colors, textures, and shapes. Help them to improve their vocabulary and knowledge by talking about what you are making and also by explaining the steps. - Improves imagination and creativity
Doing craft works helps promote creativity and imagination. It makes kids think of the different possibilities of doing a task combining various things that are around us. - Develops motor skills
While doing crafts, make your preschooler to do the simple paper cutting, drawing, sticking etc. to improve their motor skills.Holding and using a scissor needs good motor skills and initially, you will have to guide and help them do it properly. Slowly they will learn the trick and will be a pro in using scissors. Then keep your important documents and papers safe before little hands find them and shred them into pieces. - Hand-eye coordination
Make your kid do the sticking, coloring or drawing simple things. This helps improve hand-eye coordination. Older kids can do cutting also. - Improves problem-solving skills
Once you and your kids have done a few craft activities together, you can encourage them to create their own by showing the picture of the final product.Like you can show them a bus and encourage them to think how to make it from items in your house. This helps them to develop their problem-solving skills. - Strengthens concentration
Any activity requires a certain level of concentration to get it finished in a proper way. It is same for craft activity too. Help your child to work on improving his concentration by giving him to do craft activities. - Promote parent-child bonding
I believe that helping your kid with craft works is also a way to bond with them. It gives you an opportunity to guide your kid to finish tasks and also encourages them to do things on their own. Time spend with your child doing crafts in quality time spend with your child. - Improves self-esteem
Finishing a craftwork or project gives kids a confidence to take up new ones. This increases self-esteem.
Why some parents don’t do craft activities with children?
I have seen that many parents shy away from doing craft activities with their kids. One reason is that they think craftworks can be done only if one have artsy-craftsy skills or are good at painting and drawings. But this notion is totally wrong.
Believe me, I am not at all an artsy-craftsy mommy. I am miserable at drawing and painting. For proof, you can see how miserably I have sketched the figures in my school and college record books and how many times I have got a re-draw remark from my teachers. 🙂
Plus there are plenty of YouTube videos, crafts tutorials and Pinterest paper plate crafts that explain in simple ways how to do easy crafts. If you can draw straight lines and circles, can cut and stick things together, you can do crafts too. So parents, this excuse of no having artistic skills is not valid here on.
Another reason is that mommies hate the mess after the craft activities. Yes, it is true that doing a craft activity can be messy, but come-on mommies a little mess is ok if the pros are more than the cons. And also we can use simple tricks and tips to help reduce the mess and do the cleaning up in an easy way.
You can put a polyethene sheet, paper sheet or an old cloth on the floor and sit on the that to do the craft works. After the work is finished you just have to discard the sheet or clean it. I usually use the polyethene sheet in which our dry cleaned clothes come wrapped. It is easy and mess free.
Make your kid wear old clothes when doing crafts especially that involves paints. Or make them wear an apron.
Then many moms complain that their kid is hyperactive and won’t sit still at a place to finish an activity or that the child may not be interested in sitting and doing an activity. Yes, that may be true but unless you try something how will you know if your child is interested or not.
To my surprise, my super active kiddo did sit still the entire time we did the craft activity and was really interested to see how a simple paper plate get transformed into something beautiful and lovely with just a few strokes of color and pieces of colored craft papers.
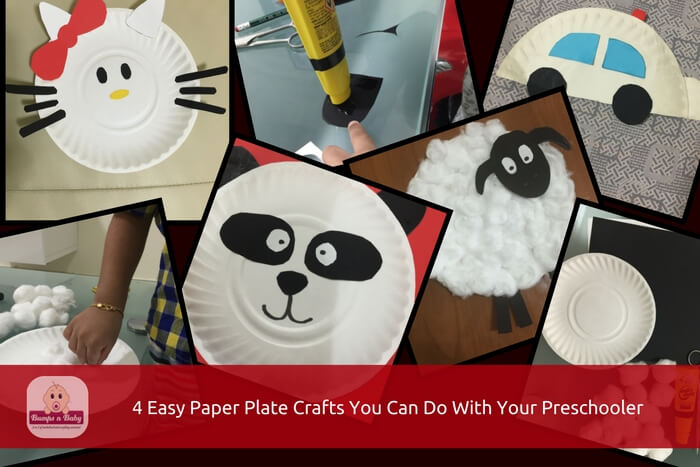
4 Easy Paper Plate Craft Activity For Preschoolers
I always take the time to do simple craft activities with my 3-year-old boy. He loves and enjoys watching and helping me transform simple everyday items to cars, animals, and toys.
Paper plates are a great standby for craft works. They are cheap and easy to store and so is always the best choice for a quick craftwork at home or school. They can be transformed into numerous amazing creations due to the round shape.
Below given are four easy to do paper plate craft activities for kids of age 2.5 years and above.
#1. Paper Plate Panda
Converting a paper plate into a cute panda is really easy as it is one of the easiest animal paper plate crafts. Reyhan liked doing this activity, as he is a big fan of Kungfu panda.
Things required:
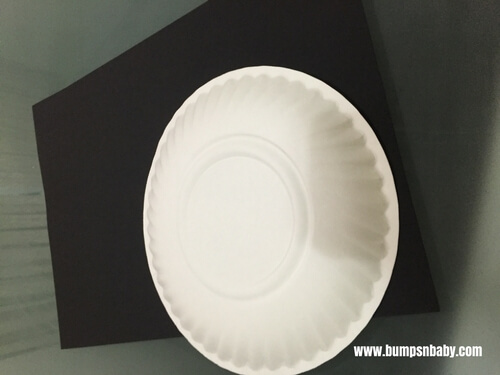
- White color paper plate : 1
- Black marker/sketch pen : 1
- Glue : 1 ( Glue stick is best)
- Black craft paper : 1
- White craft paper : 1
- Kid safe scissors : 1

How to make a paper plate panda?
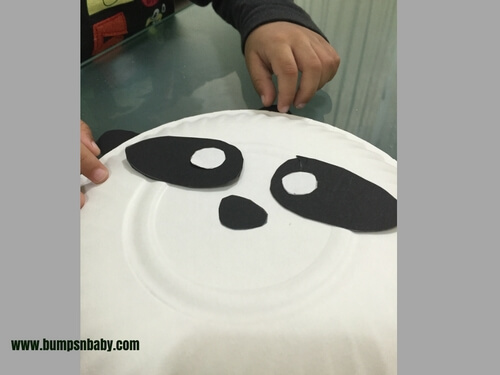
From the black craft paper, cut two oval shapes of equal size to make the large patch around the panda eyes. Note that it is not exactly oval shape but has a little lesser width at one end.
From the white paper, cut two small round shapes to form the eyes.
Cut a triangular shape with curved corners as shown in the figure to form the nose.
Cut the 2 ears shapes also as shown in the figure.

We will be using the backside of the plate for this activity as it gives a more ‘chubby’ look for the panda. So take the white paper plate and keep it upside down and do all the sticking part on this side as shown in the figure.
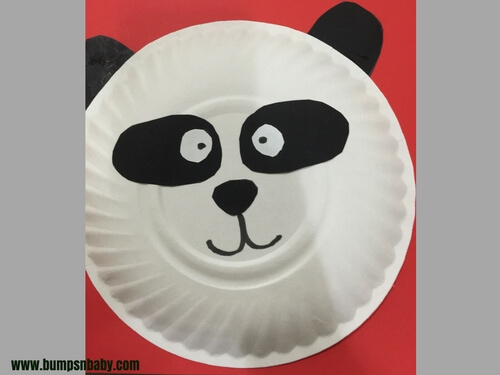
Your cute chubby panda is ready.
Isn’t that easy?
What my 3-year-old did in paper plate panda craft?
He did all the sticking part. I first showed him a paper plate panda from Internet and he got an idea on where to stick each shape. I helped him as he used the glue stick to stick the eyes, ears, and nose.
What I taught my 3-year-old while making paper plate panda?
I told him that pandas are giant in size and looks similar to bear. They love eating food. Bamboo is their favorite food. Most of the day they spend by eating bamboos. They can climb trees and have a black and white coat to protect them.
He wanted to know what a bamboo is and so I showed him a picture of bamboos. He was not satisfied. So on next visit to Kerala, I will be showing him some bamboo trees.
He easily identifies the different parts of the face and so we did that too.
#2. Paper Plate Sheep
“Mary had a little lamb, its fleece was white as show..”
Why not make Mary’s little lamb from paper plates? You can use it while singing and teaching this famous nursery rhyme.
Things required:
- White paper plate : 1
- Cotton balls : One pack
- Glue : 1
- White and black craft paper : 1 each
- Scissors : 1
- Black sketch pen : 1
How to make a paper plate sheep?
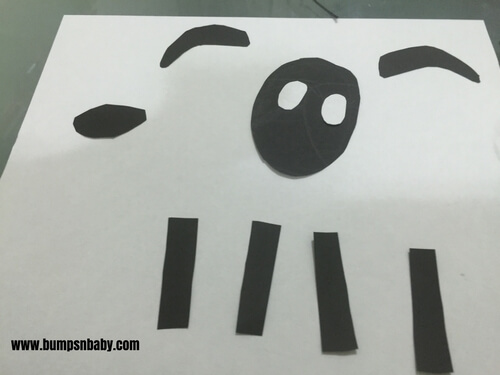
From the black craft paper cut a big oval shape to form the sheep’s head. From white paper cut two small round shapes to form the eyes.
Cut two ears as shown in the figure below. Also, cut a small oval shape to form the tail.
Make 4 thin strips from black paper to form the four legs as shown in the figure.
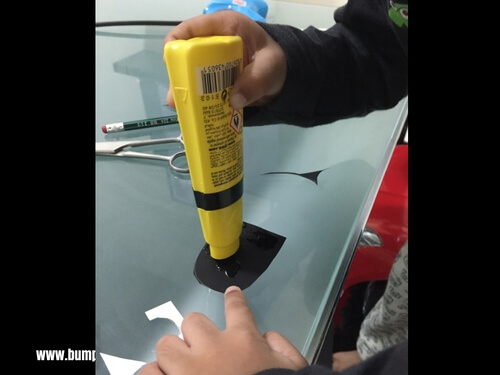
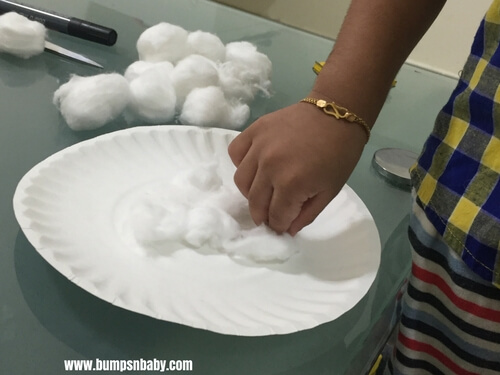
Now cover the inside of the paper plate with glue. Stick the cotton balls on the paper plate such that it covers the full plate.
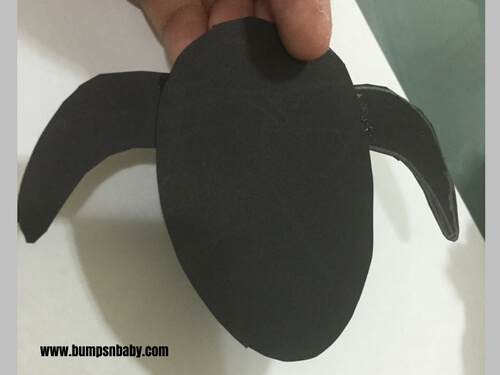
Stick the ears to the head as shown in the figure.
Make eyes by sticking the white circles and drawing the pupil with a black sketch pen.
Now stick the head onto the cotton as shown below. Stick the tail and legs to the back of the paper plate as shown in the figure below.
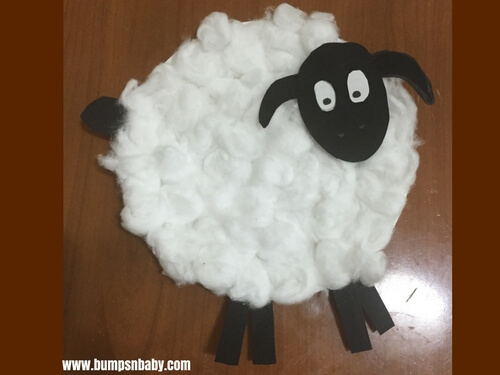
The paper plate sheep is ready.
How my 3-year-old helped me do the paper plate sheep craft?
My son glued the cotton balls to the paper plate and also made the eyes of the sheep.
What I taught my 3-year-old while making paper plate sheep?
While doing this paper plate farm animal craft, I recited, “Mary had a little lamb” for my son. We did a role-play with Reyhan as Mary and our paper plate sheep as Mary’s lamb. It was fun and he did learn the first few lines of the rhyme.
#3. Paper Plate Hello Kitty
Though Reyhan has 2 Hello kitty toys, it is not his favorite but he loved doing the craft.
Things required:
- White paper plate: 1
- Glue: 1
- Red, black and white craft paper: 1 each
- Scissors: 1
How to make a paper plate Hello Kitty?
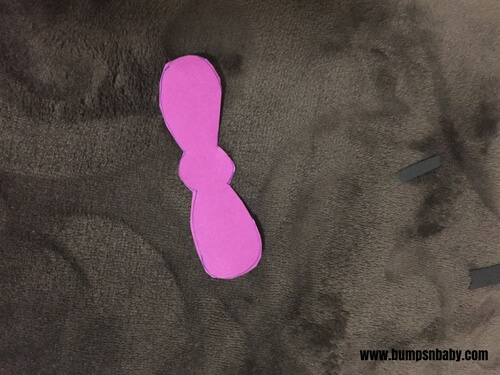
Cut a bow shape from the red colored paper.
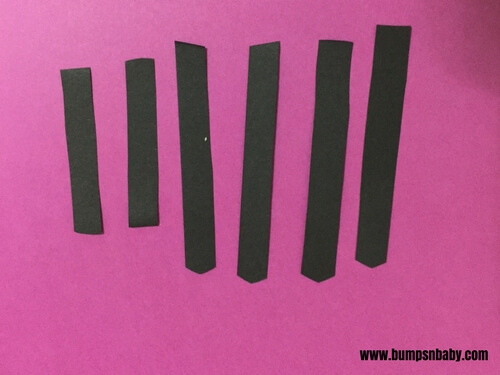
Cut 6 strips of paper from black craft paper. Two strips should be little shorter than the rest.
Cut two triangular shapes from white paper to form ears.
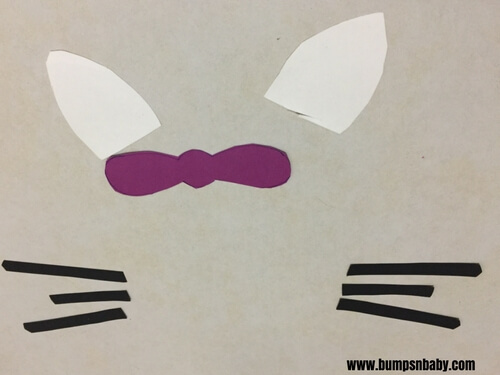
Now stick the bow, ears and the black strips as shown in the figure.
For eyes and mouth, you can draw it using sketch pens or cut smalls oval shapes from black and yellow color paper and stick it to the paper plate.
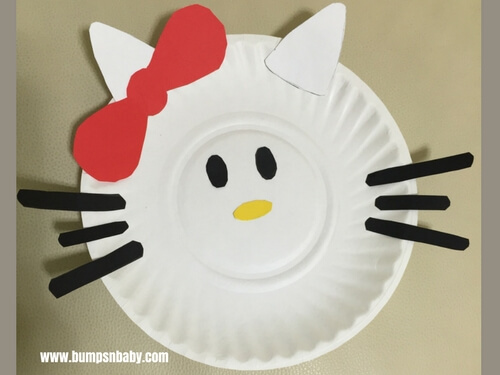
Your paper plate Hello kitty is ready.
What my son did in paper plate Hello Kitty craft?
My 3 –year-old did all the sticking this time. I just had to guide him especially the eyes and nose. The sticking he did was pretty neat for his age and he loved doing the craft. As all the sticking part was done by him, he got this feeling that he made Hello Kitty all by himself and was very proud to show it off to Dad.
What I taught my son while making paper plate Hello Kitty?
We talked about colors and shapes this time. Like thin strips, small oval, bow, triangle etc.
#4. Paper plate car
Once we did 2-3 paper plate crafts, Reyhan understood that he could make many things from a paper plate. So when he got a paper plate lying in the kitchen, he came to me and asked if I could make a car from that. So we sat together to convert this simple paper plate to a simple car.
Things required:
- White paper plate: 1
- Glue: 1
- Black and blue(or any color) craft paper: 1 each
- Scissors: 1
How to make a paper plate car?
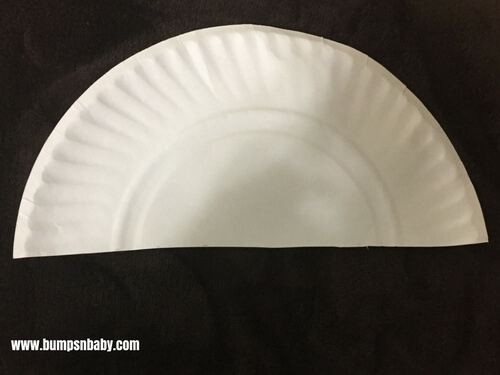
Cut the paper plate in half.
Cut a small shape as shown in the figure from the other half of the paper plate.
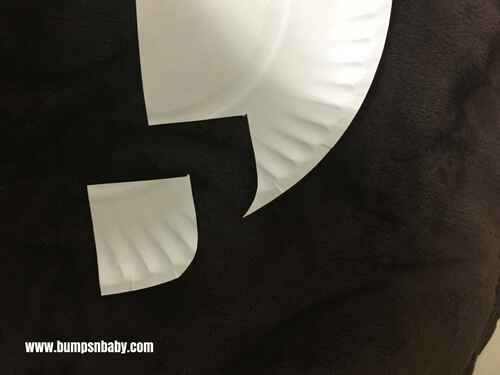
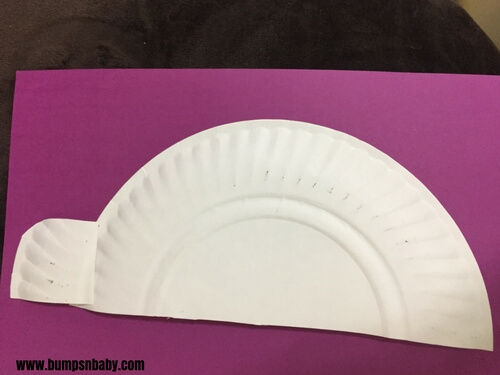
Stick them together as shown.
Cut two small circles from black craft paper to form tires.From any colored paper of your choice cut shapes as shown in the figure below to form windows. We used blue paper.

Stick the wheels and the windows as shown below and your car is ready.
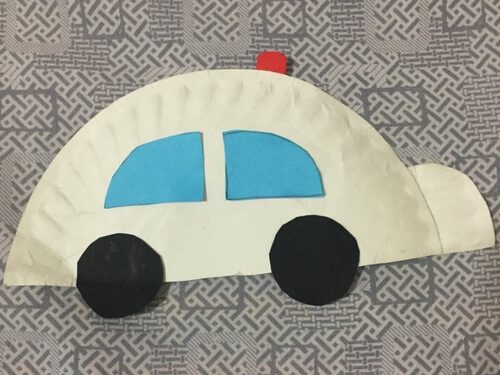
Reyhan wanted a red light on top of the car to make it police car. So we did stick a small red colored paper too.
The paper plate police car is ready. Vrooomm…vrooomm…
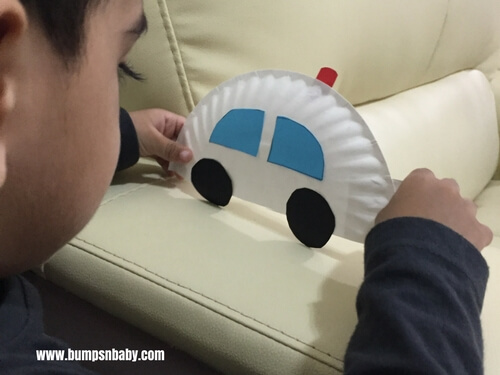
What my son did in the paper plate car craft?
He did the sticking part. Also tried his hands on scissors. A few paper plates were cut into weird shapes in his attempt to cut the paper plate to half. He needs more practice to use scissors properly.
What we talked about while making paper plate car?
We talked about shapes and colors.
Then I introduced the concept of ‘half’ to him. Like half a paper plate and half a circle. And things like two halves of a paper plate put together makes a full paper plate.
Also this time I let him use scissors. He knew how to hold it, but was struggling to cut. He took plenty of time trying to cut the paper and I could see how patient he was. 3-4 paper plates were torn in his attempt to master using the scissors. He is still to learn how to use the scissors properly.
Read:
So these were the paper plate craft activities we did last week. Reyhan is very much interested in craft works and I plan to do help him do more arty-crafty things. I believe that it is a good learning tool and also I get to spend quality time with him.
Do you take time to do crafts with paper plates with your kids?
What are the things you talk about while doing craft works?
Do share in comments your views and also do these simple paper plate crafts with your kids.


2 Comments
absolutely loved this one.. yes kids involve a lot when u get artsy craftsy 🙂
Thank you saumya…